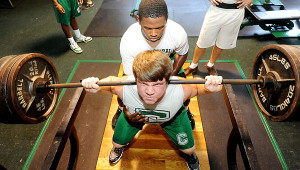
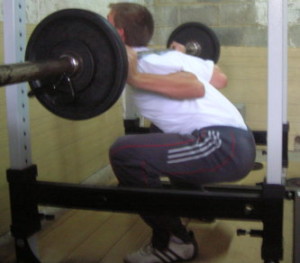
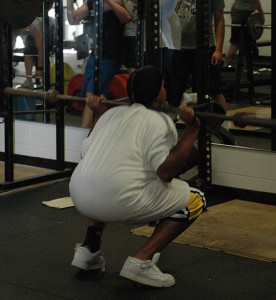
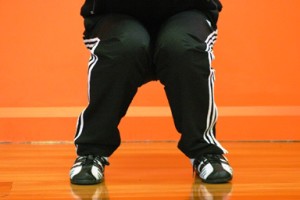
 For a variety of reasons, the squat is a part of most strength & conditioning programs, and I’m sure you’re doing some version of this movement with your athletes and/or teams. There are countless progressions for it, it’s efficient, the resources needed are minimal, and it’s relatively easy to teach. When I teach the squat to a group of athletes, there are a few common errors shown by a high percentage of the group.
Before we talk about these errors, we need to assume a few things:
1. The athlete can safely and correctly perform at least 10 bodyweight squats in a row. If they can’t demonstrate a squat correctly with their own bodyweight, adding weight to the exercise is inappropriate. Continue to work on the unloaded movement before you add resistance.
2. The athlete is using a weight that will allow them to perform a squat correctly. Using a weight that is too heavy is one of the most common reasons for poor technique, so help kids choose the correct weight so they can perform the lift safely. If an athlete can only lift a weight with POOR form, they haven’t really lifted it.
After I’ve taught the squat and have helped athletes choose a proper starting weight, here are the three most common squat errors I see, and coaching cues to help correct them:
1. Flexion/rounding of the spine: If an athlete is rounding his/her (he and she will be used interchangeably throughout this article) lower back during a squat (sometimes called “butt wink”), teach him what a slight anterior tilt  of the pelvis feels like. You can do this by telling him to stand upright, pretend his pants are full of water, and have him pour the water out the front of his pants without bending the knees. This will help him feel how to control his pelvis and how to control/maintain an arch in the lower back during the squat.
I also recommend doing static holds at the bottom of the squat to correct this issue. With a relatively light weight, have the athlete squat as low as he can while maintaining the arch in his lower back. At the bottom of the squat, have him hold that position for time. Start with 3 sets of 10 seconds, constantly giving him feedback on whether or not he’s maintaining the arch. This gives athletes time to work on the “feel” of maintaining good posture and will help strengthen the stabilizing muscles responsible for this.
This issue is exacerbated by athletes descending too quickly, so encourage a slow, controlled descent. It also leads to athletes doing partial squats and never learning how to control their pelvis. Not correcting this flaw will lead to problems down the road and habits that will be very difficult to correct, so confront it right away with young athletes learning how to squat.
2. Heels come off of the ground: A proper squat is done with the entire foot on the floor. Having the heels come off the ground will increase the shear forces  encountered at the knee, will severely affect the depth of the squat, and will ultimately decrease the amount of weight an athlete can lift. To correct this issue, have the athlete pick his big toe slightly off the ground and keep it that way during the movement. Ask him to keep his weight between the heel of the foot and the ball of the foot.
You may also need to spend time working on the athlete’s ability to sit backward into the squat. This often feels un-natural for athletes, so you can cue them to push their butt back to the wall (or whatever is behind them). Sometimes athletes feel like they have to stay “tall” so they never sit back into the squat. The cue “keep the chest up” often confuses athletes into thinking they have to remain upright. Explain that they should maintain an arched lower back, but they will lean forward slightly as they descend. “Spread the chest” may be a better cue, but you’ll still need to explain that their body will lean forward in order to maintain balance.
Finally, ankle flexibility may need to be addressed. A very common reason for the heels lifting off the ground (or the feet turning out during the squat – another common error) is a lack of ankle mobility. While this will take time to improve, have your athletes stretch their calves and Achilles tendon between sets to help correct this. This can be done with a simple wall stretch or spending time on an angle board.
3. Knees caving inward (Valgus): The knees should be lined up with the feet during the entire movement. It’s fine to turn the toes out 3-5 degrees, but the  knees should stay in line with them. If the knees are caving in, tell the player to push their knees out and “spread the ground” with their feet. Squatting in front of a mirror will also help the athlete see what is happening. You may also want to tie a light stretch band around the athlete’s knees and have them feel tension on the band throughout the movement.
There can always be more complicated physiological reasons why these errors occur, so always ask the athlete if he’s experiencing any pain. Pain is usually a good indicator that something is wrong and needs to be addressed by a qualified athletic trainer or therapist. The tips above are simple coaching cues to help elicit a quick response. As always, comment below or E-mail me with any questions you have about this.

No comments yet.